Design your own BMX plate!
How to personalize your plate sticker?
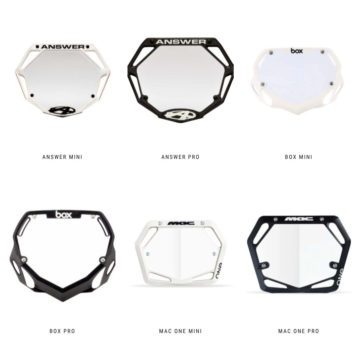
1. Choose your model
Choose your plate model available in our shop
2. Select your favorite design in the Designer
Click on the DESIGNS tab and select from the designs available for your plate model

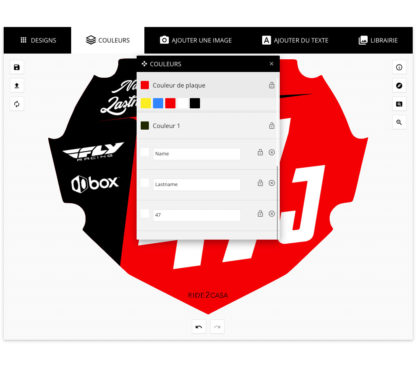
3. Choose your colors
Click on the COLORS tab and choose your plate background color and the various design colors.
For plates with a red, black or blue background (cruiser, junior or women's), don't forget to change the color of the numbers to white. If you don't know what background color to use, read our USA BMX Rules page
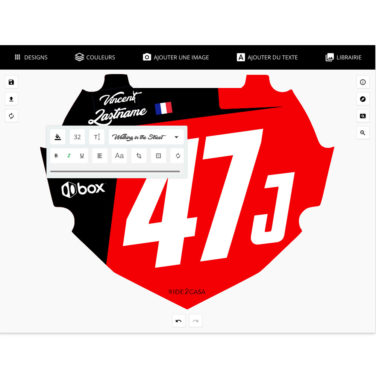
4. Change your number
Click on the name or number to change the text and replace it with your own info.
You can also change the font and size.
Please note! The plate color and numbers size and color must comply with USA BMX or UCI rules.
Numbers must also be entirely within the printing area of the sticker.
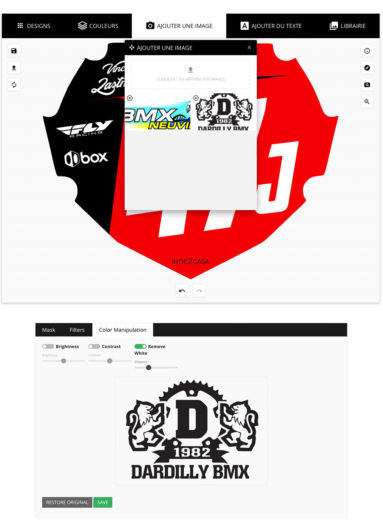
5. Add images et logos
Click on the ADD IMAGE tab to import sponsor logos.
You can also select logos from the Ride2casa image library.
Tip: You can remove the white background from a logo by clicking on the image editing icon and going to the Color Manipulation tab, then Remove White.

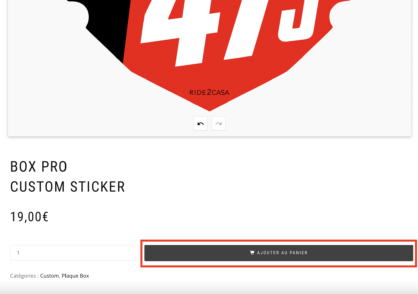
6. Place your order
When your plate is ready, click on Add to cart and finalize your order. Your order will be delivered within a week.
How to apply your plate sticker?

1. Prepare your plate
Make sure to clean your plate thoroughly and remove any previously applied stickers.
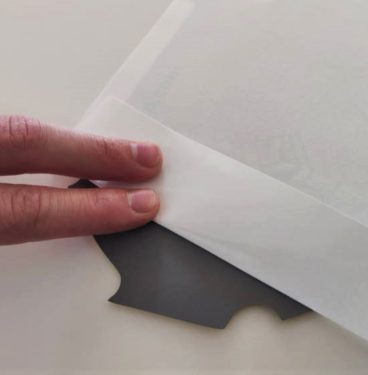
2. Peel off the sticker
Peel off a few inches of the sticker and make a fold to reveal the sticky part.

3. Place the sticker
Place the sticker using the shapes on the plate and stick it over a few inches.
4. Apply the sticker
Once the sticker is perfectly positioned, you can apply it over its entire surface. Apply gently, using a card to avoid air bubbles.

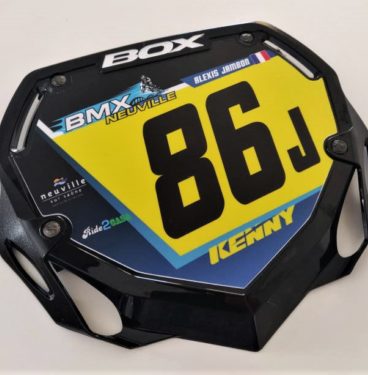
5. Go racing!
Your plate is ready, you can go out and win races!